Hands-On STEM Resources — Science

 
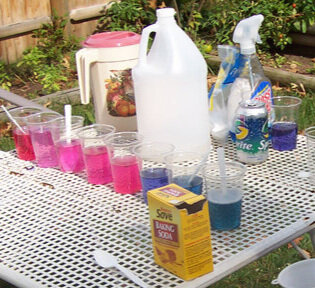
pH.jpg
 

In the old days, classroom teaching materials meant texts and workbooks. Nowadays, it might mean an online curriculum.

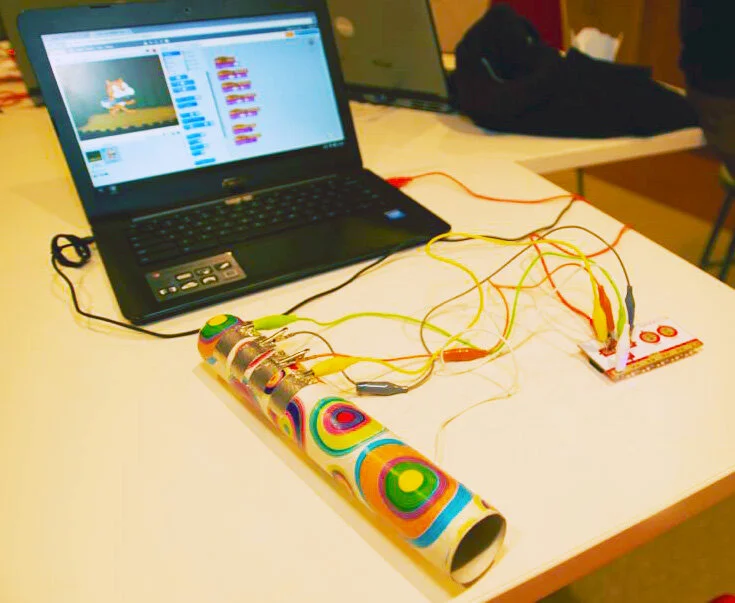
But there are plenty of hands-on learning tools that give kids a deeper experience by engaging more than just their eyes and ears – and allowing for creativity in the results!

Many activities can be done with just the materials you already have on hand. You can find suggestions for how to do them in books (including mine!) and on parenting blogs (mine are here ) for use at home. For example, my post on Nature Schooling shows you how to build a curriculum around backyard observation.

Also check out resources aimed at classroom and informal educators, such as Instructables (free, with contests for best inventions!) and Teachers Pay Teachers.

The kits and special supplies mentioned here are available through educational retailers, toy sellers, and local stores. For many, you can find teacher guides that show you how to do one project or build a unit or even a complete course around the materials.

To get you started, I’ll be sharing some suggestions for teaching STEM subjects – Science, Technology, Engineering, and Math – without a textbook. Keep in mind, many activities and supplies can be used to touch on a variety of subjects, all at the same time, or when used in different ways. First up — science!

At-Home Science Resources

At-home science activities go way beyond baking soda and vinegar volcanoes. We’ve measured the pH of learned laboratory techniques breaking down aspirin tablets into their component chemicals, experimented with the state of matter called plasma (a kind of electrified gas) by cooking grapes in a microwave, and proved that light is both a wave and a particle with a laser pointer and Styrofoam cup.

You can find many of my at-home science experiments in my books, and I’ll be updating my old science blogs over the coming weeks.

That said, if science is a weak area for you, or if you can’t pull together all the materials you need, science kits are a great way to go. Be careful what you pick -- some kits don’t always work, are hard to figure out, or ask you to provide so much yourself that they’re barely worthwhile. Here are a few science companies that get great reviews from kids, parents, and educators:

Kiwi Crate is a subscription box that includes everything you need to do one project each month. The kits are well-built and come with clear instructions. The company also produces lines for older and younger kids on themes including making, engineering, and crafts.

ScienceWiz can be found in books-plus-kits are sold in the toy section of major stores, but their quality is much higher than some flashier-looking products. My kids built a working AM radio from the Inventors Kit that we still talk about to this day.

Steve Spangler is known as a TV science showman best known for popularizing the Diet Coke and Mentos demonstration, but he also creates kits, videos, and instructions to help you do experiments at home.

Join our DIY Homeschool community on Facebook!


This page may contain affiliate links. Thanks for helping me to keep producing great learning resources for students and families!

What to Do if You're Panicked About Curriculum

 
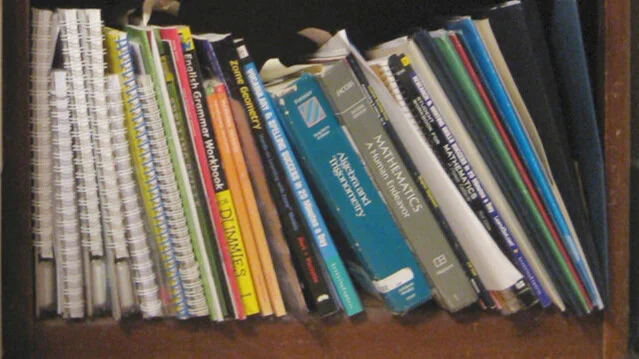
Schoolbooks.jpg
 

Buy a cheap, complete curriculum workbook for your child’s grade. Boom, done.

If you have reporting requirements for a state like New York, you can use it as a placeholder on your IHIP for the school district. Just add a statement that says the materials you are list “include but are not limited to” and that you will be adding more details in the quarterly reports.

Then relax as you figure out what else you can do during the year that’s more engaging and meaty.

What can you do with a workbook?

  • Flip through it to find topics you might want to cover during the year.

  • Use it to see how to describe skills in “educationese.” For instance, learning to tell time falls under “math.”

  • Give it to your kids for “busy work” when you’re frazzled but want to feel productive. Some kids like worksheets! But if your kids find them stressful or boring, let them pick out the pages they want to do. And don’t make a big deal of grading them. Instead, use their work to see where you might need to help them improve their skills as you develop your own teaching plan.

You can find all-in-one curriculum workbooks in book stores, department and big box stores, and online. Here are a few examples. Some are specifically for homeschooling, and others are designed to reinforce classroom instruction (but can probably work for homeschooling) as well. If your child is middle school or older, look for workbooks or review books for specific subjects. Some examples:


Another Option: Outline a Plan of Instruction

To fulfill the New York State homeschooling regulations, you must show the school “a list of the syllabi, curriculum materials, textbooks or plan of instruction to be used in each of the required subjects.”

If buying a curriculum isn’t your style, create a plan of instruction based upon guides aimed at helping parents figure out what their kids should be learning when. Some list specific topics, such as:

Others offer suggestions for topics, as well as techniques to help you cover a wide range of topics, including:

Regardless of which strategy you choose, you’ll get past that planning logjam and begin to move on to working and learning about homeschooling along with your kids!


This page may contain affiliate links. Thanks for helping me to keep producing great learning resources for students and families!


Nature Schooling: Do a Backyard Biodiversity Audit!

 
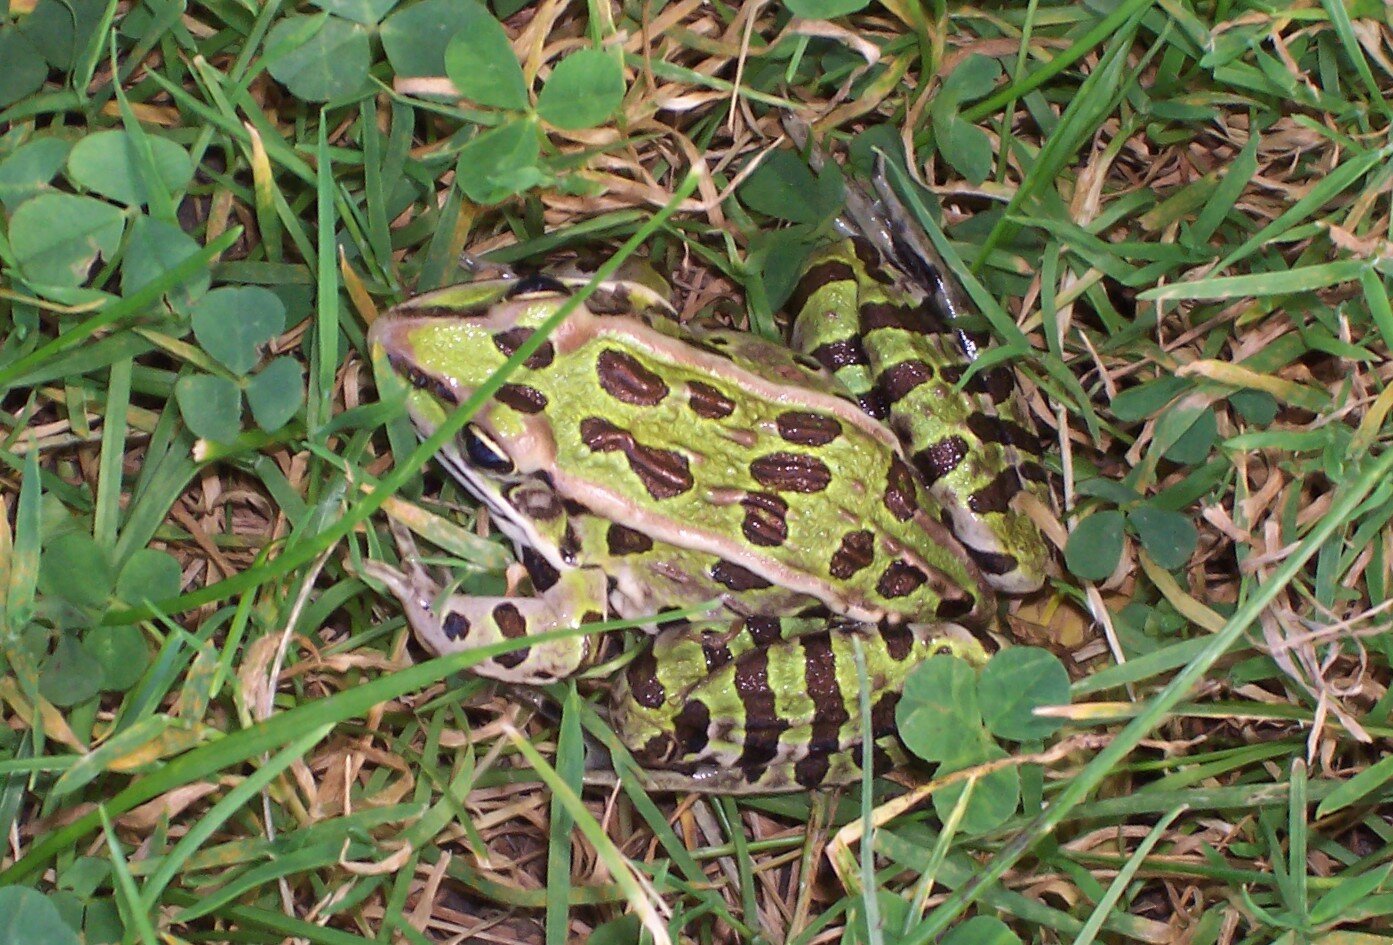
Shamrock Frog.JPG
 

How many different species live in your backyard or neighborhood? Can you name them all?

Inspired by a project called “The 100 Species Challenge,” we recorded, described, identified, and mapped 100 different species of living things within a few minutes’ walk of our home. Scientists call this a “biodiversity audit.” Charles Darwin conducted the first one ever in June 1855, when he counted the different types of flowers in the meadows around his home in Kent, England. His findings appeared in his book On the Origin of Species.

Our challenge served as our homeschooling biology study for the first half of the year. But in addition to learning about different types of plants, animals, fungi, and other living things, my kids sharpened their observational and documentation skills, practiced recording and analyzing data, and learned how to present what they learned so it was interesting and accessible to a general audience.

The steps laid out here take the activity from informal observation all the way up to science fair research project. You can do as many or as few of them as you like. And you can do it in one day, make it a daily or weekly activity, or come back to the same location in different seasons. In any form, it’s a great way to incorporate outdoor studies into your school or homeschool routine!


Materials

  • notebook and pen or pencil

  • your map (see instructions)

  • wildlife field guidebooks or apps

  • camera

  • binoculars, magnifying glass

  • sample bottles or bags for collecting microscopic life forms

  • field or desktop microscope


Instructions

Step 1: Choose an area to survey and make a map


Choose an area to search for different kinds of living things. These can include anything – birds, insects, wildflowers, weeds, vegetable gardens, fish ponds, mushrooms and slime mold. Pick an area (backyard, street, park, etc.) that has as many different kinds of environment as possible. A wild meadow will have more different species than a manicured lawn.

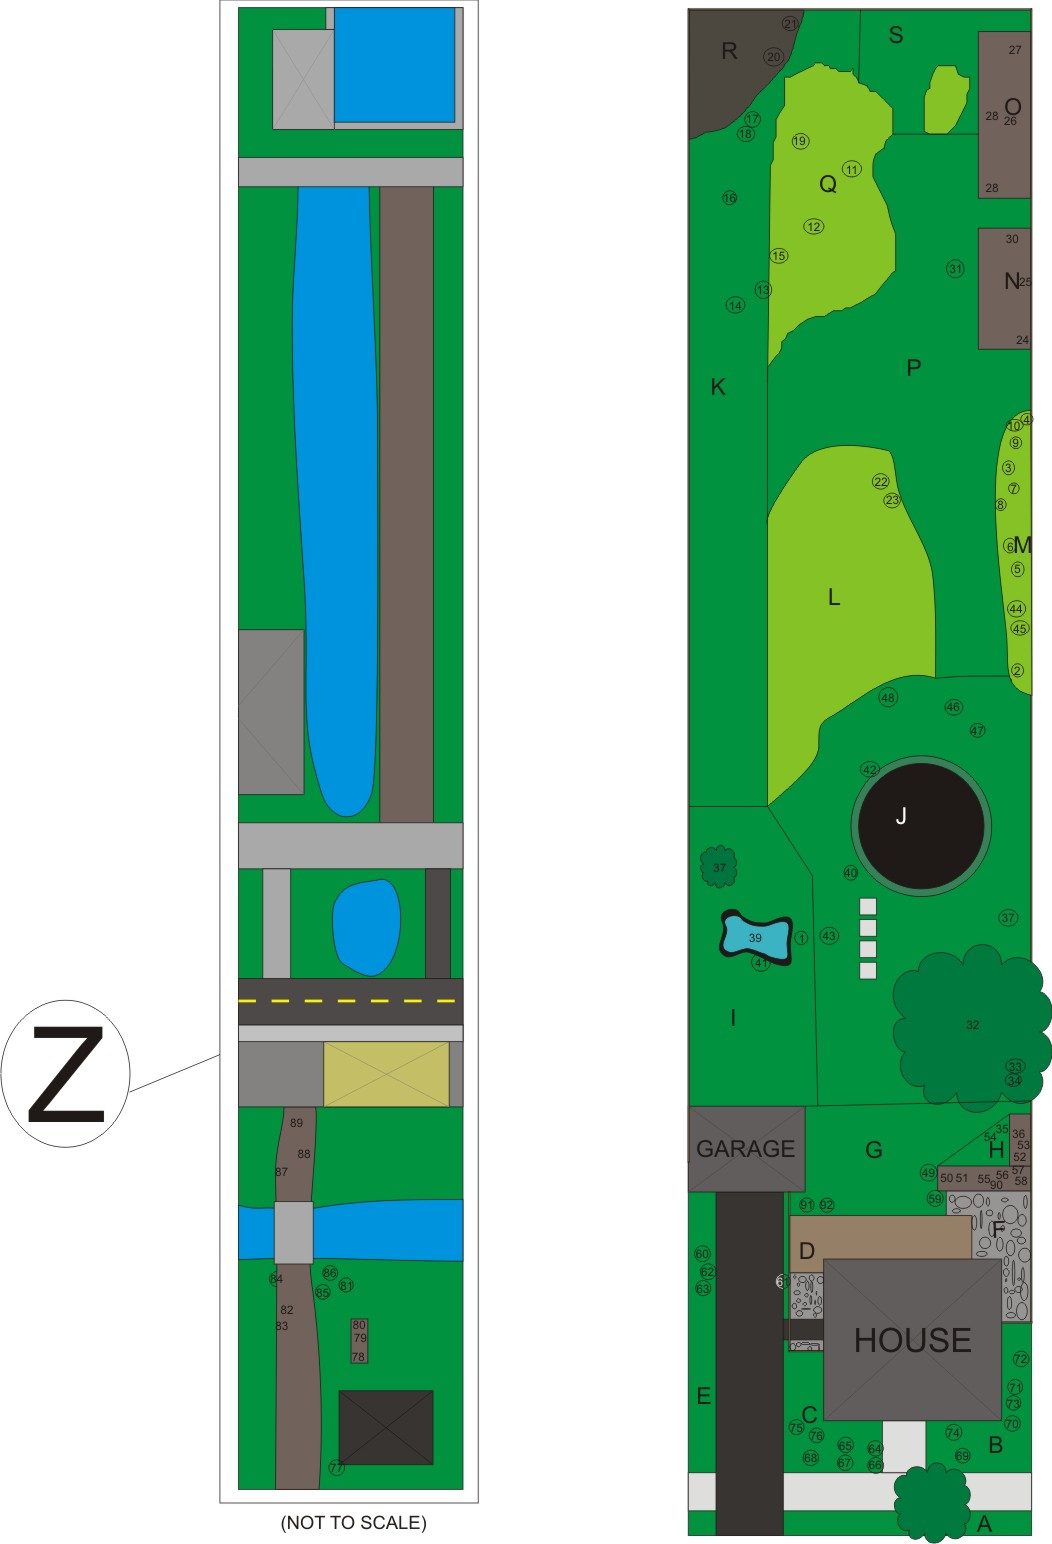
Backyard Survey Map.png

We actually left several patches of our backyard un-mowed for a year in order to create little mini-meadows to study. A family of rabbits moved into the meadows, and a mulberry tree grew to be three feet tall in the course of one summer. We also discovered a rare type of freshwater bryozoa in the nearby canal. You may be surprised at the number of large animals and unusual plants that live on the edge of your yard or neighborhood!

Once you choose the area to be surveyed, make a map showing landmarks such as buildings, sidewalks, trees, fences, gardens, streams and ponds. Divide the area on the map into sections and give each section a label. In the example above, we used letters to label each section of the yard, the deck, the patio, the garden, etc. In the full version of the map at the top of this chapter, you can see symbols for trees, an artificial fish pond, and a trampoline.


Step 2: Start recording species

Take a notebook, pen or pencil, and camera or phone to take photos, videos, and record sounds. If you have binoculars or a field microscope (or a microscope attachment for your phone camera), bring those as well.

Choose one section of your map to begin your survey. Walk carefully around the section and make a notation of every species you see. Give each species you see a number, and mark the number on the map to show where you found it. Completely cover one section of your area before moving on to the next.

If you don’t know the name of an organism, write down as much information as you can about it. You can make a list of things to describe or create a chart with categories like size, shape, and color. If you have a field guide to local wildlife with you, use it when you come across something you can’t identify.

 If you have a camera, be sure to take a photo of every species as well. Try to frame the picture with an uncluttered background so the species you’re focusing on stands out. If you don’t have a camera, draw a picture or diagram of the organism, labeling details for later.

Whether or not you have a field microscope or magnifying glass with you, you can take samples of water, soil, or vegetation, put them in bags or bottles, and bring them back to observe under controlled conditions.

If you do the survey on different days, be sure to include a description of the weather conditions and how the environment changed.

Step 3: Identify the species

If you are having trouble identifying a species, and you can’t find it in your field guide, use your photos and/or drawings and written description to try to identify it. There are many searchable websites that list different species by description, as well as apps that let you upload an image for identification. You can also contact local wildlife experts and biologists for help. Try a nearby college or your state environmental department.

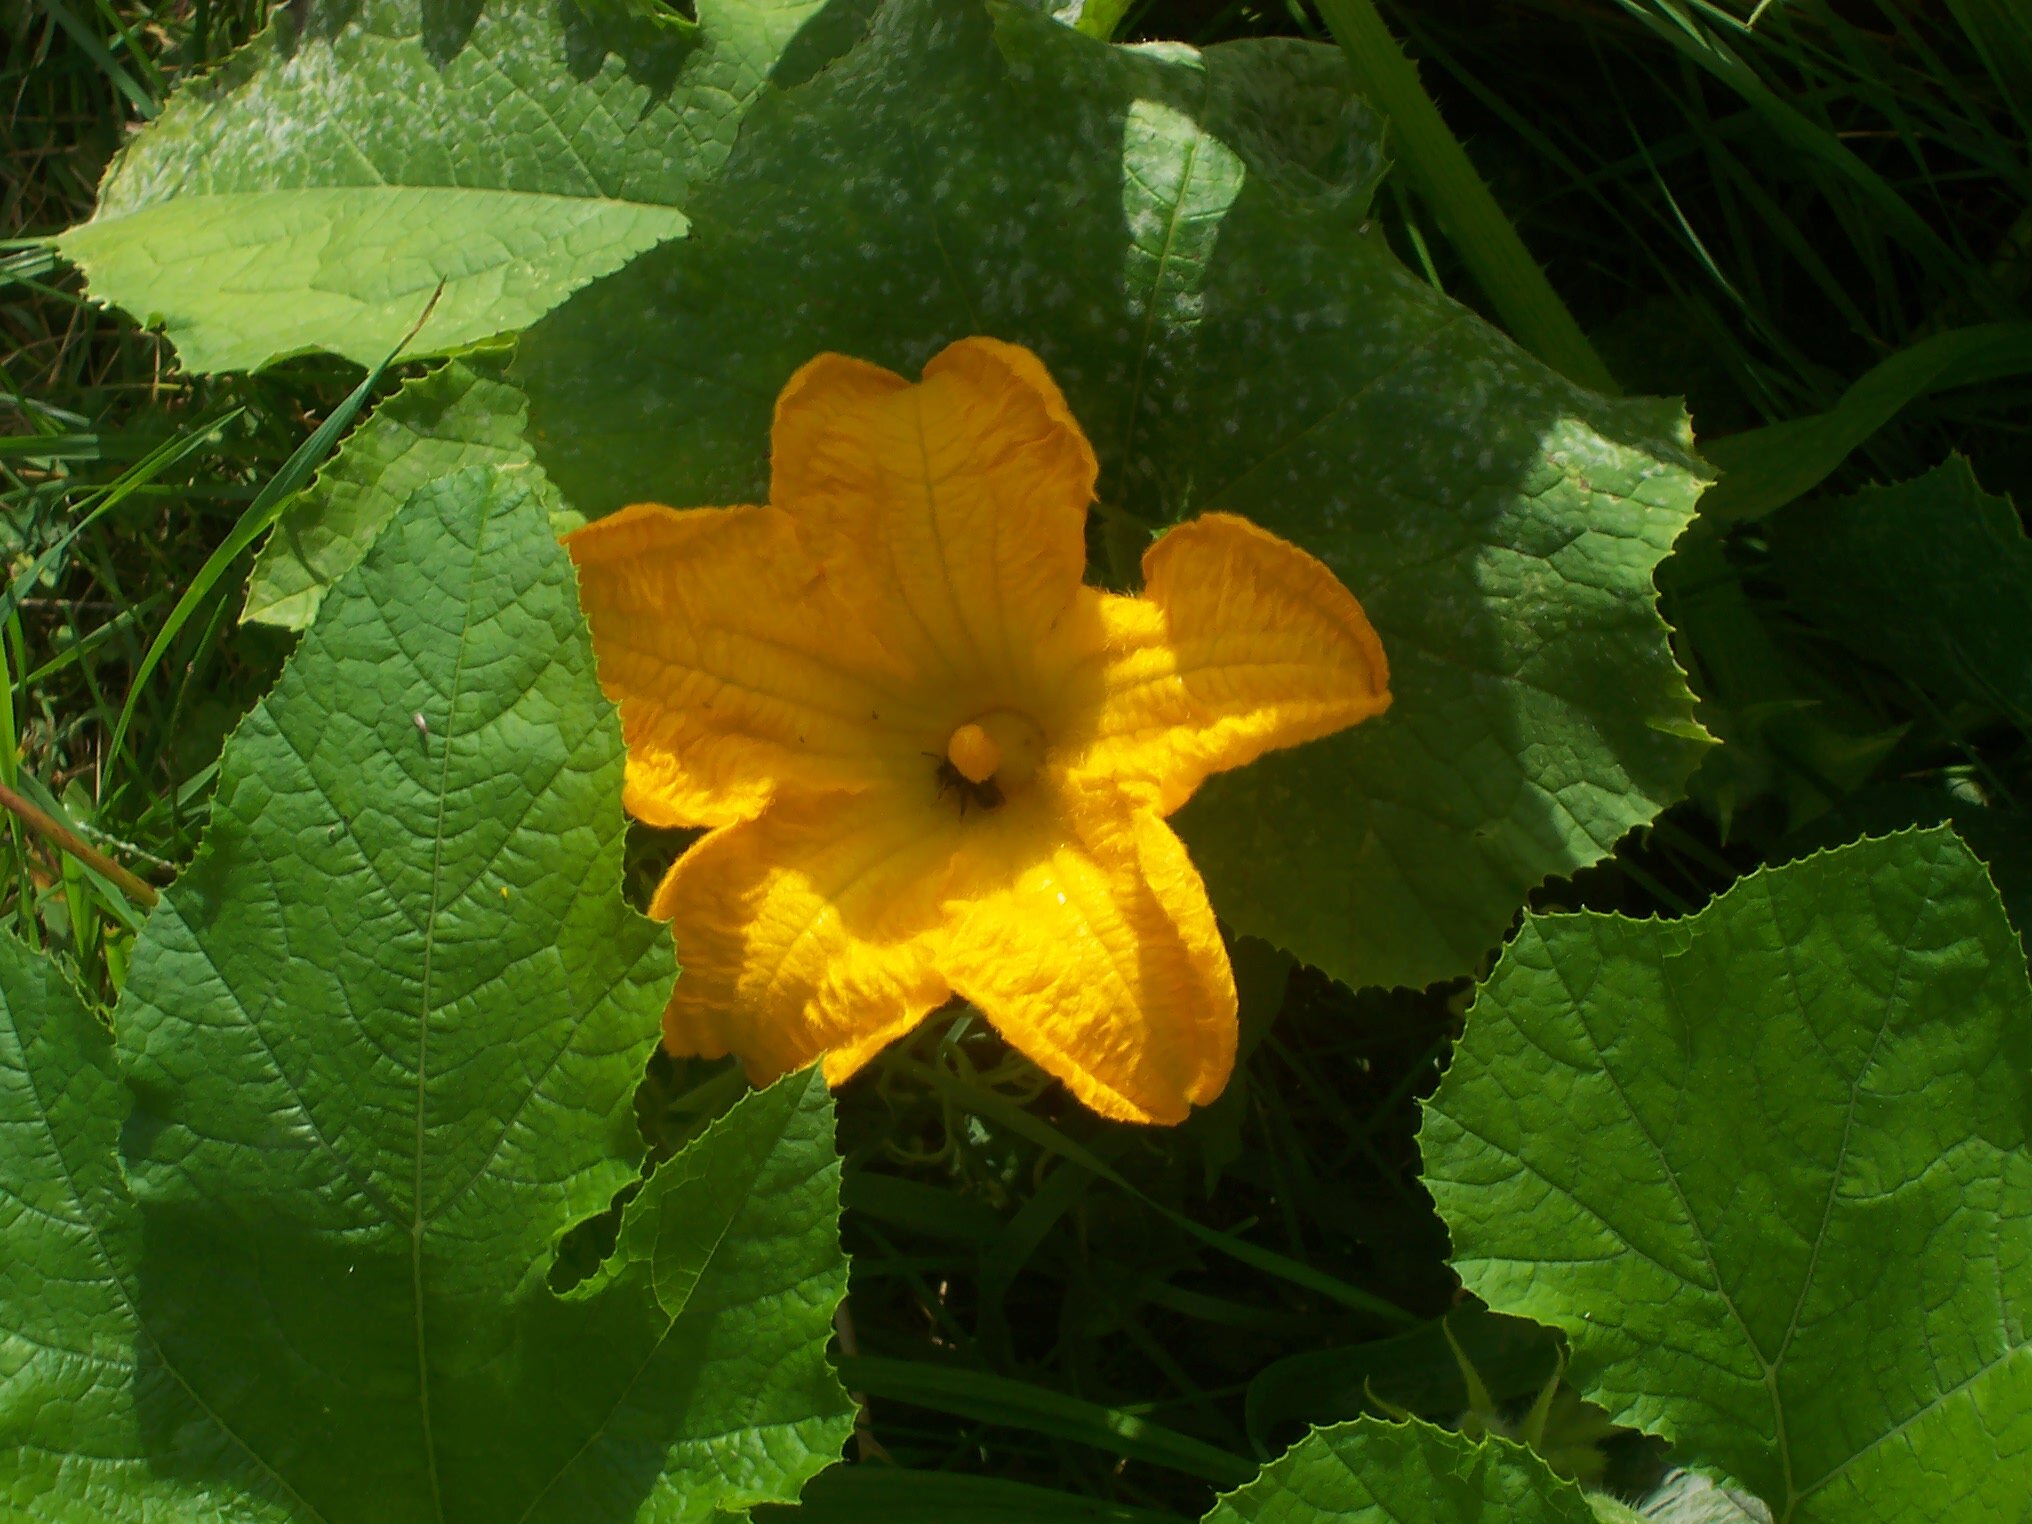
Spider.jpg

Once you have identified a species, do some research to find out more about it. Add this information to your notes of your observations. Check to see if your observations are typical or unusual for that species.

Step 4: Pull your data together

When you have gathered all your data, you need to arrange it in a form that you and others can use. If you have made handwritten notes, copy them over neatly or type them into a computer. Pick out the best photos of each species, and crop it to get the best view.

Decide how to you want to organize your information. If you enter the data into a computer spreadsheet like Excel, for example, you can easily figure out how many birds you found by the pond or how many insects by the rose bushes. Or make your map into an infographic, using color coding and symbols (for instance, a symbol of a ladybug wherever you found an insect).

You should also think about how you want to present your data to others. Suggestions include creating a large version of your map, with details about each species along the side. You can also print out your descriptions and photos in book form, post them on a website or blog, or create a slideshow with music and narration.

Step 5: Analyze your data

Red SquirrelJPG.jpg

Look at your observations to see what patterns emerge. Were there more of one kind of species than another? What kinds of places had the most diversity? Did you discover any rare or unusual species? What did you notice about the way the species interacted with each other or the environment?

If you made a hypothesis about what kind of species you would find, where they would live, or what time of day or season you would find them, see whether your hypothesis was proven by the data.


This page may contain affiliate links. Thanks for helping me to keep producing great learning advice and activities for kids!


How to Create Your Own Curriculum!

 
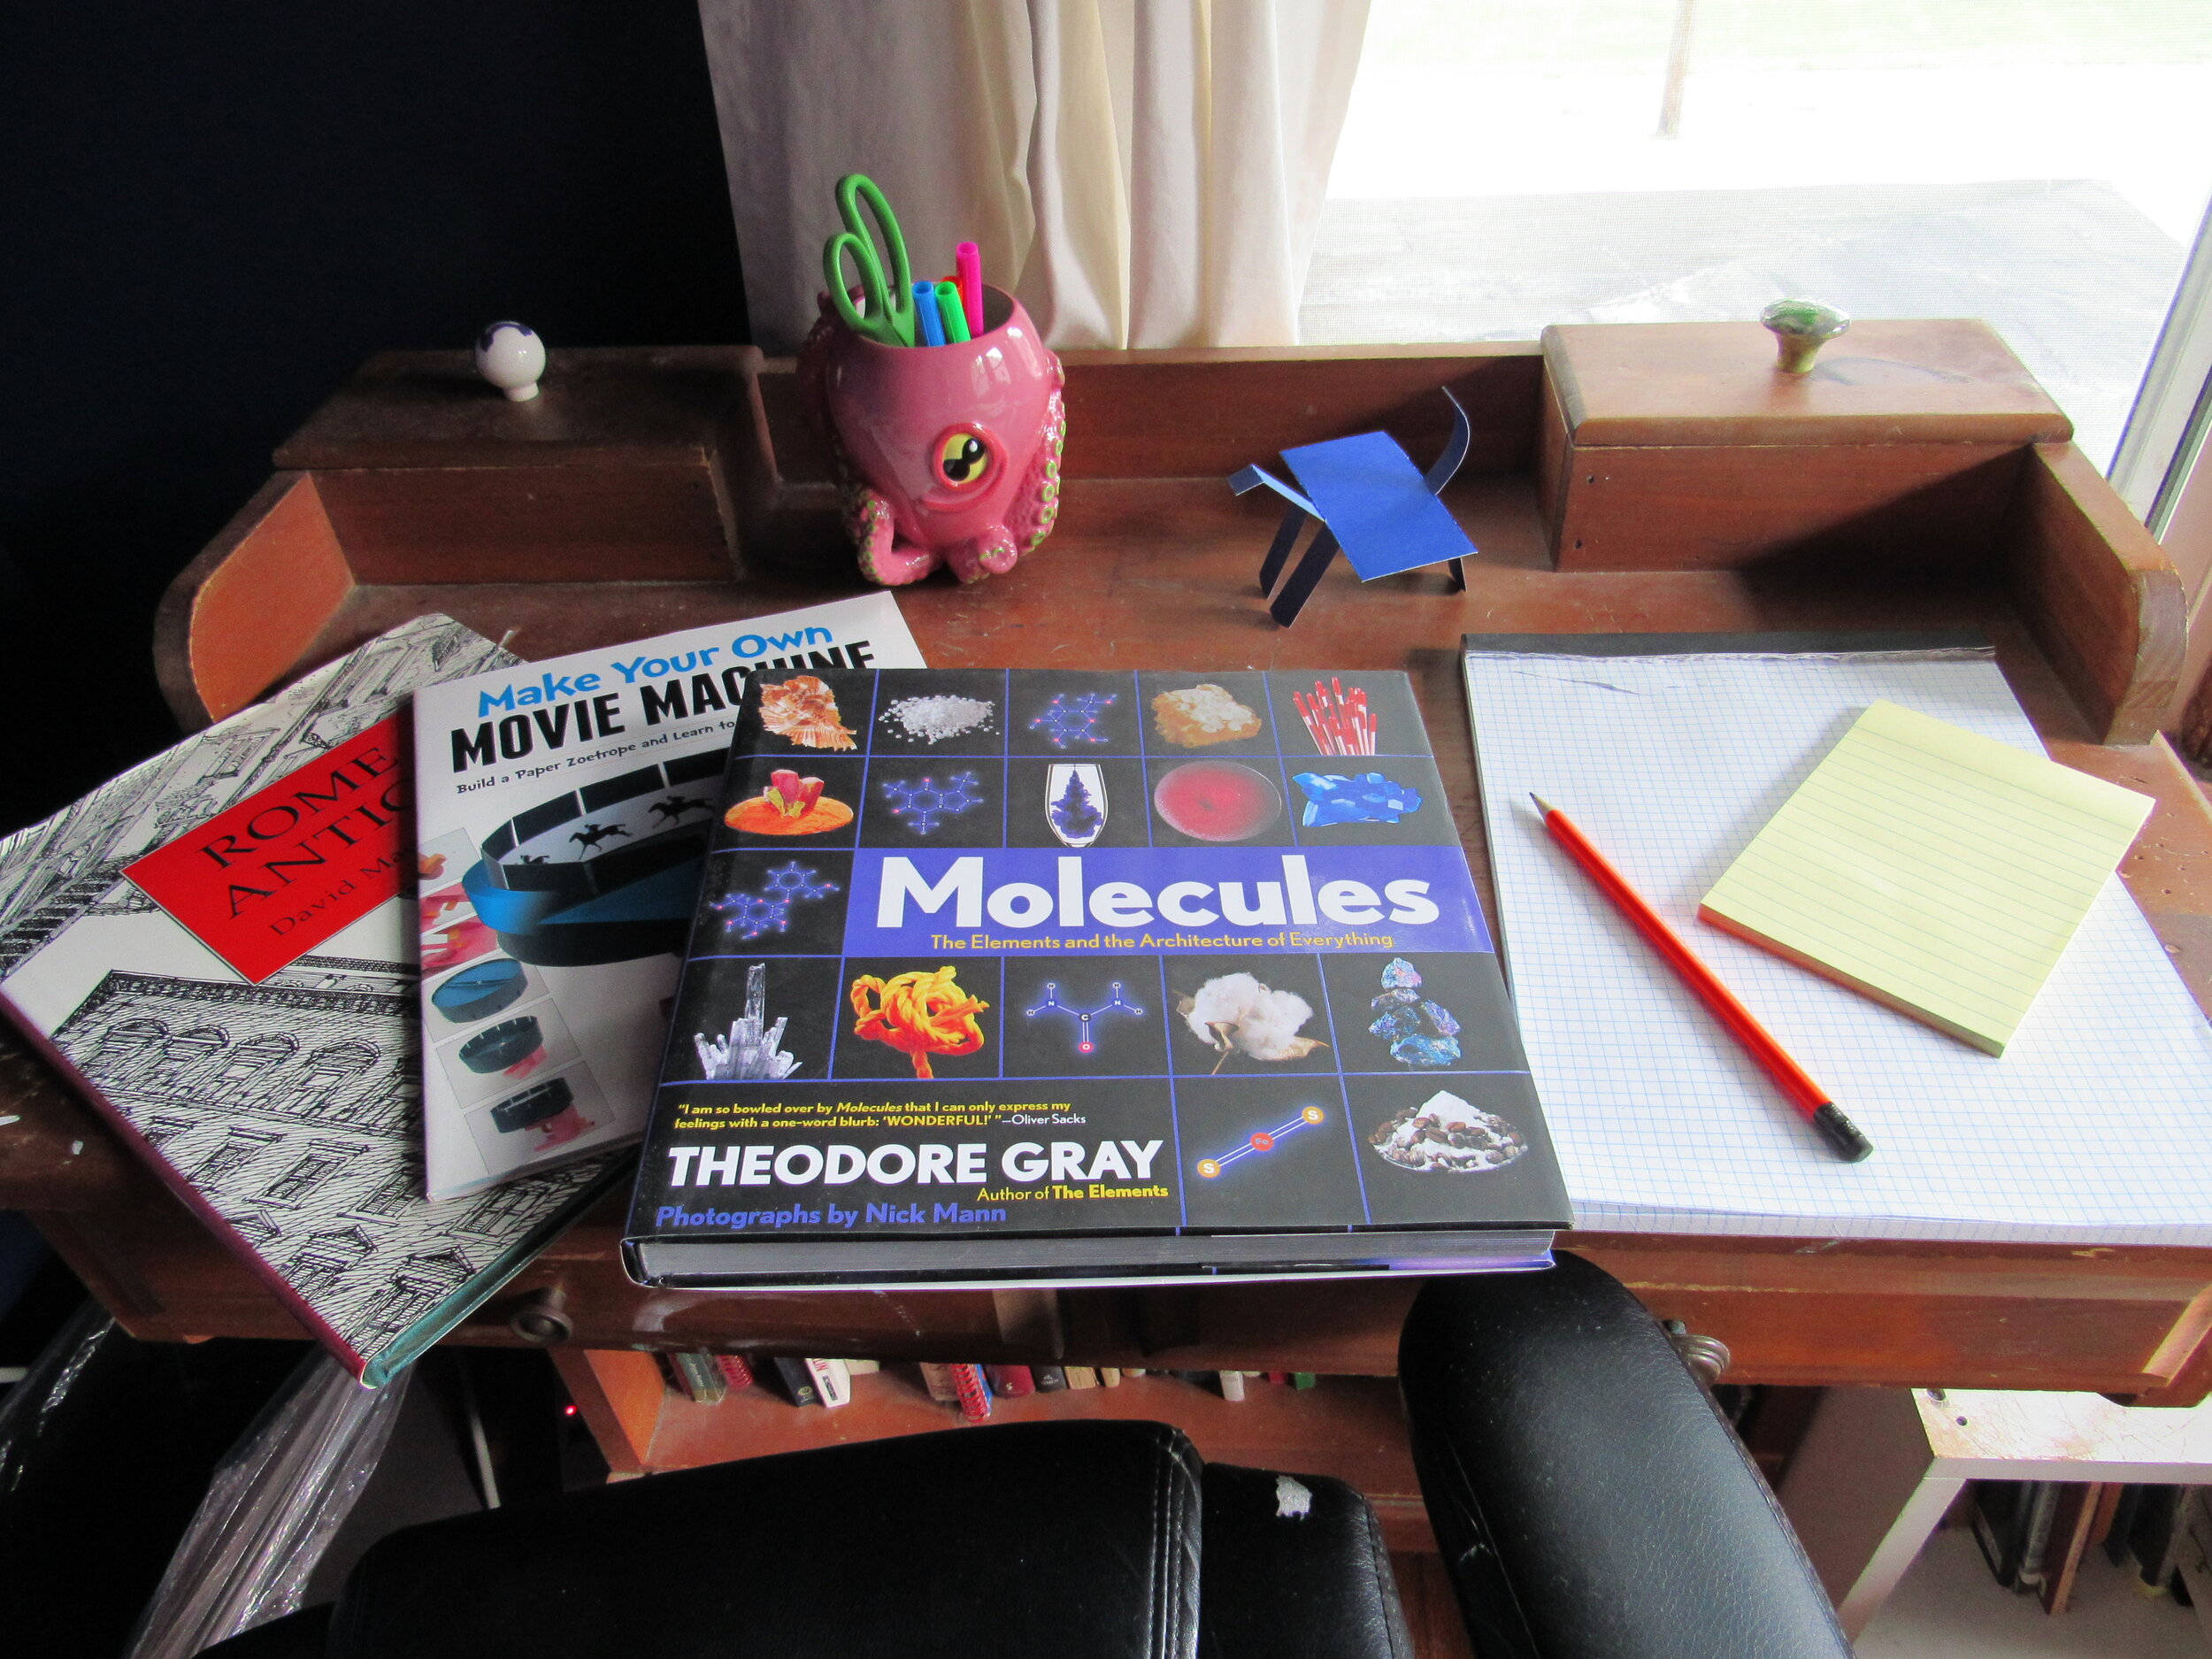
Books Desk.JPG
 

Many homeschooling parents -- even those who start out using a pre-packaged curriculum -- decide somewhere along the way to take advantage of the freedom homeschooling allows by designing their own course of study.

If you don’t have an education degree, creating your own curriculum can sound daunting. But putting together a customized learning plan not only saves you money – it can also make your homeschooling experience much more meaningful.

Remember, unlike a classroom teacher, you won’t be teaching the same course year after year. (If you have multiple ages and adapt it for different levels, you may only have to teach it once!) So it makes sense to keep prep time on your part to a minimum. Try these tips to get going quickly and easily:

  • Follow your passions. Enthusiasm is contagious! Choose topics that interest your kids, and you’re already ahead. And the same goes for you: Teachers who love their topic can make anything sound fascinating!

  • Start small. Take it one subject, or even one topic, at a time. For example, design a unit study exploring one favorite interest – say, sharks -- from different angles (looking at its place in history, the science involved, and reading related literature, etc.).

  • Keep it broad. The more details you spell out, the harder it will be to cover everything. You’re also giving yourself less time to veer off when you discover some unexpected new piece of information that looks intriguing. Pick a few general areas you want to touch on, then do specific prep into the first one or two before starting to plan the rest.

Once you’ve decided what you want to cover, follow these steps to design a curriculum around it:

1. Do your research – but just enough to know what you want to learn. To create a teaching plan for a subject you're not familiar with, the first step is to get a good idea of what it's about.

My favorite way to get a quick overview of a new subject? Read a well-written book on the topic aimed at middle schoolers! Books for that age group will tell you everything you need to know to cover the topic for younger students, but still be comprehensive enough to get you started on a high school level.

Other resources you can use to introduce yourself to a topic include:

ArtBot Family.jpg
  • Popular nonfiction for adults or teens;

  • Websites designed for student review (like Khan Academy or BBC Bitesize );

  • Review workbooks, like Kumon, or study guides such as SparkNotes for literature;

  • Self-help books for adults (such as the "For Dummies" or the “Don’t Know Much” history series);

  • Textbooks, particularly ones recommended by other homeschoolers.

2. Identify the topics and concepts you want your children to learn. As you do your research, make notes on key concepts and topics you may want to cover. Don't feel you have to include everything -- many educators feel that digging deep into a few core topics is more useful than skimming over many areas briefly.

That said, if you come up with more topics than you can possibly cover in one year, you'll have options if one area doesn't work for your family.

3. Create a timetable. Figure out how long you would like to spend on the subject -- a year, a semester, or a few weeks. And nothing says you can't continue on with a subject for more than a year!

Next, decide how much time you want to devote to each broad area. Within that time period, list all the topics you think your family would like to learn about. But again, don't worry about individual topics until you get there. That way, if you decide to drop a topic, you'll avoid doing extra work.

For instance, if you want to devote three months to World War II, don't just divide the time up chronologically, battle by battle. When you dive in, you may decide to approach the subject a different way, such as focusing on how it affected ordinary people in different countries.

4. Select high-quality resources. One big plus of homeschooling is that it lets you use choose the very best resources available. These may be textbooks, picture books, graphic novels, movies, videos, and even toys and games, as well as online resources and apps. Fiction and narrative nonfiction (true stories about inventions and discoveries, biographies, and so on) are also useful learning tools.

5. Add in hands-on activities. You don't have to put every project together from scratch -- there are lots of well-made science kits and arts and crafts kits, as well as activity books that give you step-by-step directions. And don't forget activities like cooking, making costumes, or building models.

6. Take it outside. If getting out into the community is an option where you live, help your kids put topics into context by taking field trips to places that relate to the subject you are studying, such as historical sites, nature trails, or museums.

7. Find ways your kids can demonstrate what they learned. Written tests are just one students can show they’ve paid attention. You can also suggest they put together a written presentation with charts and maps, write a song, shoot a video, design a board game, or draw a graphic novel.

Last Tip: Don't worry about gaps.

You can’t cover everything -- but that’s not your ultimate goal. The best skill you can help your kids develop is the ability to seek out information on their own.

If your kids want to know more about a subject once you’re done, suggest ways they can continue to research it on their own. This can range from borrowing library books, to finding YouTube videos, to contacting experts on the internet. (There are a lot of college professors and graduate students on Twitter who love to share their areas of interest).

That’s how you’ll help your children begin to take responsibility for their own education – and start them on the path to become life-long learners!


This page may contain affiliate links. Thanks for helping me to keep producing great learning resources for students and families!